
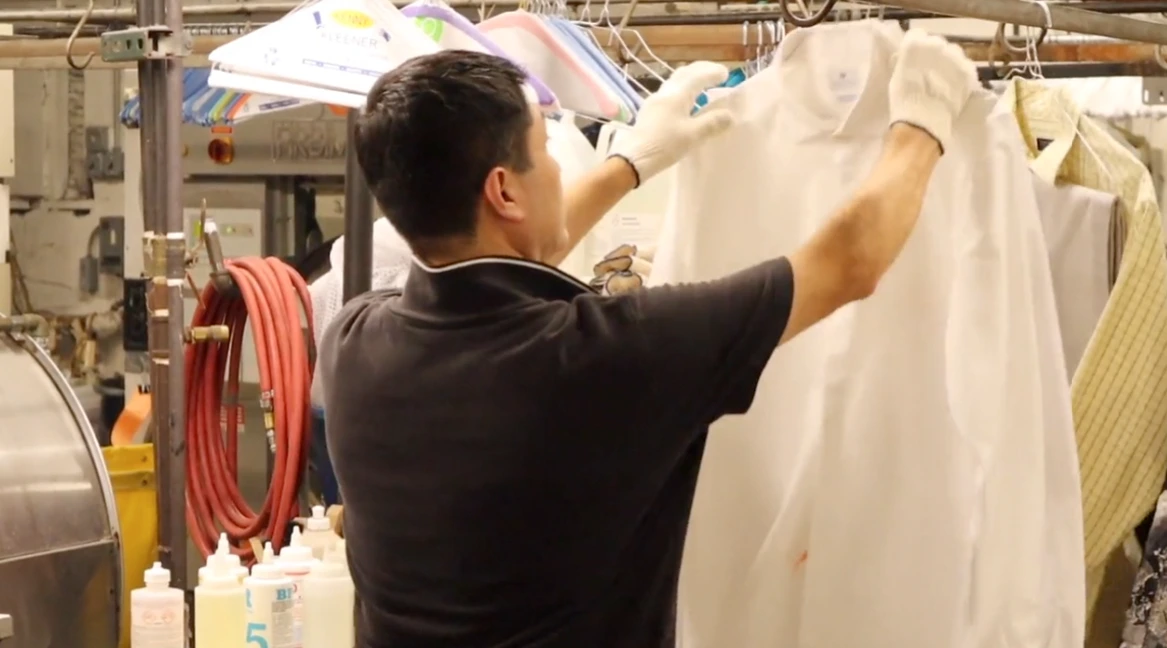
Trying dry cleaning for the first time can raise a few questions. You might wonder how the process works, how long it usually takes, or whether your garments will be handled safely. Those questions are perfectly reasonable because when you see clothes as investment pieces, it’s natural to want reassurance before getting started.
Unlike home laundry, dry cleaning uses controlled processes to target stains while preserving fabric shape. Each garment is evaluated individually, then cleaned in specialized equipment and finished with careful pressing and inspection.
In this post, we walk you through exactly how dry cleaning works and what you can expect as a first-time customer.
How to Get Your Clothes Ready for Dry Cleaning
Before heading to the dry cleaner, taking a few extra minutes to prepare your garments can make a big difference. Proper preparation ensures your clothes are cleaned thoroughly, handled correctly, and returned in top condition.
1. Check the Care Labels First
Don’t automatically assume an item needs dry cleaning. Always check the care tag sewn inside the garment. These labels provide manufacturer-approved cleaning instructions.
- “Dry Clean Only” means water can damage the fabric; professional dry cleaning is necessary.
- “Dry Clean Recommended” suggests it’s the safest method, though not strictly required.
- “Do Not Dry Clean” indicates the garment may need a different cleaning approach.
Pro Tip: If your clothing combines multiple fabrics, such as a blazer with a delicate lining, dry cleaning is often the safest option to protect every material involved.
2. Look for Stains or Damage
Give your garments a quick once-over before drop-off. Spotting issues early helps your cleaner apply the right treatment.
Pay attention to:
- Stains: Let the cleaner know what caused them (coffee, oil, ink, wine, etc.). The source matters because different stains require specific solutions.
- Odors: Smoke, sweat, or food smells can be treated effectively, but only if mentioned.
- Loose threads or missing buttons: Some cleaners provide minor repairs, but it’s best to ask ahead of time.
Pro Tip: Avoid trying DIY stain removal with water or household products before taking in items. This can permanently set stains and make professional removal much more difficult.
3. Double-Check All Pockets
Forgotten items in pockets are among the most common dry cleaning accidents. Even small objects can damage clothing or machinery.
Before drop-off:
- Remove pens, coins, keys, and gum.
- Take out tissues or receipts that could disintegrate in the machine.
- Check inside jacket linings and hidden compartments.
Pro Tip: If you're dropping off several items, do a quick check to make sure nothing gets left behind.
4. Separate by Fabric and Color
While professional cleaners sort garments themselves, organizing items beforehand can help avoid confusion.
- Delicate materials (silk, lace, wool, rayon) require gentler handling.
- Heavier garments (suits, coats, denim) go through different finishing processes.
- Light and dark colors should be separated to prevent unwanted color transfer.
Pro Tip: If you’re taking matching pieces, such as a two-piece suit or coordinated set, submit them together so they’re cleaned under the same conditions.
5. Remove Excess Lint and Pet Hair
Dry cleaning removes dirt and oils, but heavy lint and pet hair aren’t always fully eliminated during the process.
Before drop-off:
- Use a lint roller or brush to remove surface debris.
- For embedded pet hair, lightly pat with a damp cloth to lift stubborn strands.
This small step helps ensure a cleaner final result and prevents hair from transferring to other garments.
6. Take Clothes Neatly Folded or Hung
How you take in your clothes makes a difference. Items that arrive neat and in good shape are easier to clean and press properly.
- Hang structured items such as suits, dresses, and blazers.
- Neatly fold softer pieces, such as sweaters and slacks.
- Avoid cramming clothing into tight plastic bags.
Pro Tip: If your dry cleaner offers reusable garment bags, use them instead of disposable plastic to keep clothes organized and eco-conscious.
7. Share Any Special Instructions
Communication makes a big difference. If you have specific requests or concerns, mention them before leaving your garments.
Inform your cleaner about:
- The type and cause of stains
- Sensitive fabrics
- Repairs you’d like done
- Preferences for pressing or folding
Many cleaners provide environmentally friendly options, so feel free to ask about green cleaning methods if sustainability matters to you.
8. Save Your Receipt and Confirm Pickup Details
Once your items are checked in, you’ll receive a receipt with order details and a pickup schedule.
Before leaving:
- Verify all garments are listed correctly.
- Confirm the expected completion date.
- Ask about express services if you’re on a tight timeline.
Pro Tip: Keep your cleaner’s contact details handy in case you need to follow up about your order.
The Professional Dry Cleaning Process Explained
Dry cleaning isn’t just a simple wash cycle; it’s a carefully controlled cleaning system designed to protect delicate fabrics. Here’s what happens once your clothes go behind the counter.
Step 1 – Inspection and Tagging
Every garment is examined for stains, damage, or missing components. It’s then tagged with a tracking label to ensure it stays matched with your order from start to finish.
Step 2 – Targeted Pretreatment
Stubborn stains are treated before the main cleaning cycle begins. Professionals apply specialized solutions tailored to the type of stain, whether oil-based (such as grease or cosmetics) or water-based (such as sweat or wine).
Step 3 – Cleaning with Solvent
Garments are placed inside a specialized dry cleaning machine. Instead of water, a liquid solvent circulates through the fabrics to dissolve dirt and oils. The solvent is then extracted and filtered, leaving clothes clean without the risk of shrinkage or color fading.
Step 4 – Final Inspection and Pressing
After cleaning, each piece undergoes another inspection. Remaining spots are retreated if necessary, and garments are steamed or pressed to restore their structure. Structured items, such as suits and pleated pieces, receive careful finishing to maintain shape.
Step 5 – Packaging and Collection
Finally, cleaned garments are neatly packaged and protected with a garment cover. They’re now ready for pickup, looking crisp and refreshed.
Reminder: Once home, remove plastic covers promptly to allow fabrics to breathe and avoid moisture buildup.
Trying Dry Cleaning for the First Time? Trust Kenny The Kleener with Your Clothes
Dry cleaning doesn't have to feel confusing or overwhelming. With the right team, caring for your clothes is simple, convenient, and stress free.
At Kenny The Kleener, we've delivered award-winning dry cleaning and garment care to Skokie and the North Shore for over 45 years. With professional tools and proven techniques, we care for everything from delicate fabrics to everyday essentials. Our FREE home Pickup and Delivery Service makes the entire process simple and convenient.
Sign up for FREE Pickup and Delivery Service today and let Kenny The Kleener handle the rest. Need further assistance? We're here to help – just reach out.
📞 +1 847-324-5101
📍 3760 Dempster St., Skokie, IL, 60076
🕐 Mon–Fri: 6:30 AM–8:00 PM | Sat: 6:30 AM–6:00 PM | Sun: 8:00 AM–5:00 PM